
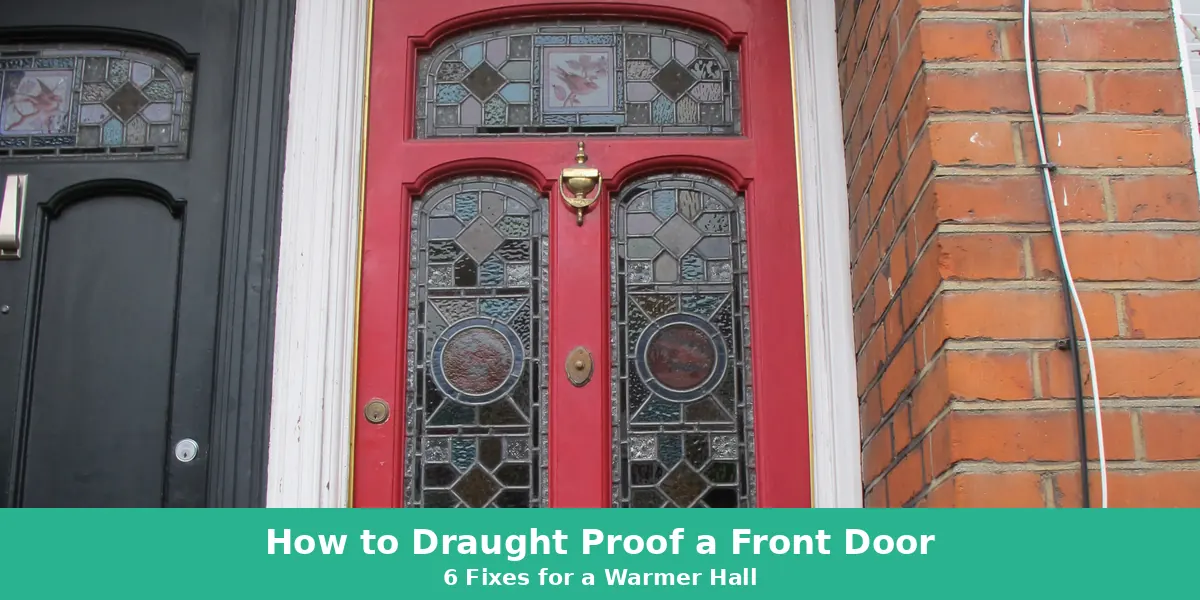
How to draught proof a front door? Fit a brush strip under the door and seal the frame with foam strips. Add a letterbox brush and cover the keyhole, then test the door. The job takes one morning, costs under £50 in parts, and starts with finding the leaks.
Cold air sneaks in through gaps you can barely see. Your hallway stays cold while the rest of the house warms up. This guide to how to draught proof a front door walks you through each fix. You will know what to buy, what it costs, and how long each step takes.
Why Your Front Door Lets in So Much Cold
A front door leaks at four spots: below, at the frame, the letterbox and the keyhole. Cold air pushes through each one on a windy day. The gap under the door is often the worst of the four. A 1 mm gap around a door adds up to a small window sized slot.
The Energy Saving Trust lists those same four spots in its draught proofing guide. It says sealing windows, floors and doors could save around £55 a year in Great Britain. Even so, the door is the cheapest place to start.
Older timber doors leak more than modern ones. Wood shrinks, hinges loosen, and seals flatten with age. A dropped door leaves a wedge shaped gap no strip can fill.
The Short Version
- Find the leaks with a candle or incense stick on a still evening.
- Fit a brush strip under the door first, since it is the biggest leak.
- Seal the frame sides and top with foam or rubber strips.
- Add a letterbox brush and a keyhole cover.
- Check the hinges if the door has dropped.
- Leave vents and trickle vents clear at all times.
Find the Leaks Before You Spend a Penny
Buy nothing until you know where the cold air gets in. Close the door, switch off extractor fans, and wait for a still evening. Hold a lit candle or an incense stick near the frame. Watch the flame or smoke bend where air slips through.
Mark each leak with a strip of masking tape. Check the bottom edge, both sides, the top, the letterbox and the keyhole. Look for daylight around the edges on a bright day too.
Note the size of each gap before you shop. Measure the door width and the gap under it at both ends. Old doors often have a wider gap on one side. Write the numbers down, since guesswork buys the wrong strips.
- A gap of 4 to 8 mm under the door.
- A loose letterbox flap that no longer springs shut.
- A keyhole with no cover on the inside face.
- A top corner gap where the door has dropped.
How to Draught Proof a Front Door at the Bottom
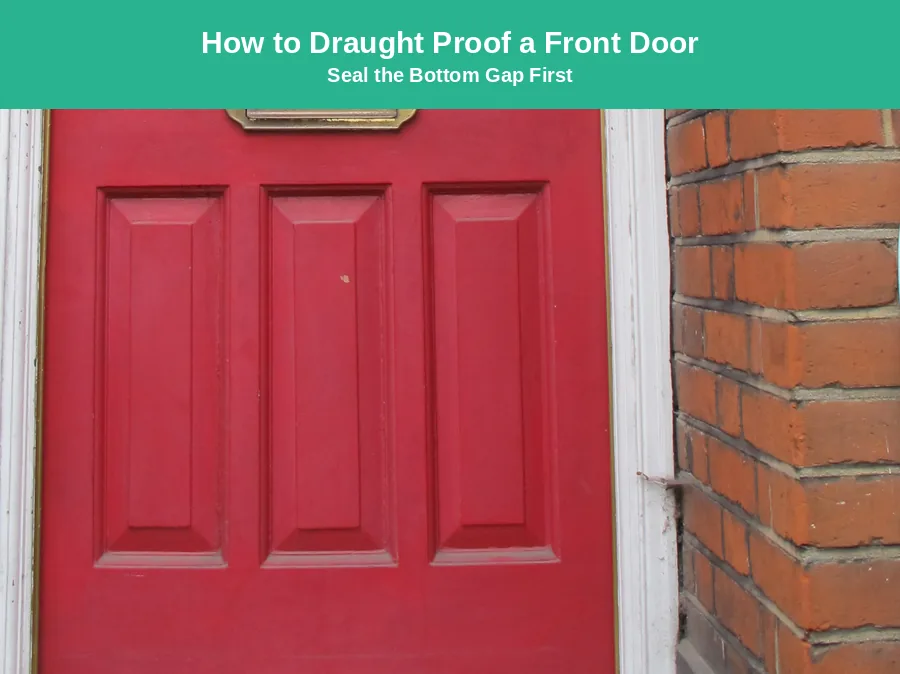
The gap under the door is the biggest single leak in most halls. This is where how to draught proof a front door begins, with the threshold. A brush strip fixed to the bottom of the door closes it well. The brush sweeps the threshold as the door swings, so it never jams.
Pick a screw-on aluminium carrier for a solid timber door. Self-adhesive vinyl strips suit renters, but they wear out sooner. The brush should just kiss the threshold without dragging when the door swings.
- Measure the door width and cut the strip to fit.
- Unscrew the old strip and clean the bottom edge.
- Hold the new strip in place and mark the screw holes.
- Drill pilot holes first, since hardwood splits without them.
- Screw the strip on and check the brush just touches the floor.
A rubber threshold seal on the floor adds a second layer. It costs about £12 and sticks down under the door. Test the door after fitting, and make sure it still locks with ease.
Seal the Frame: Sides and Top
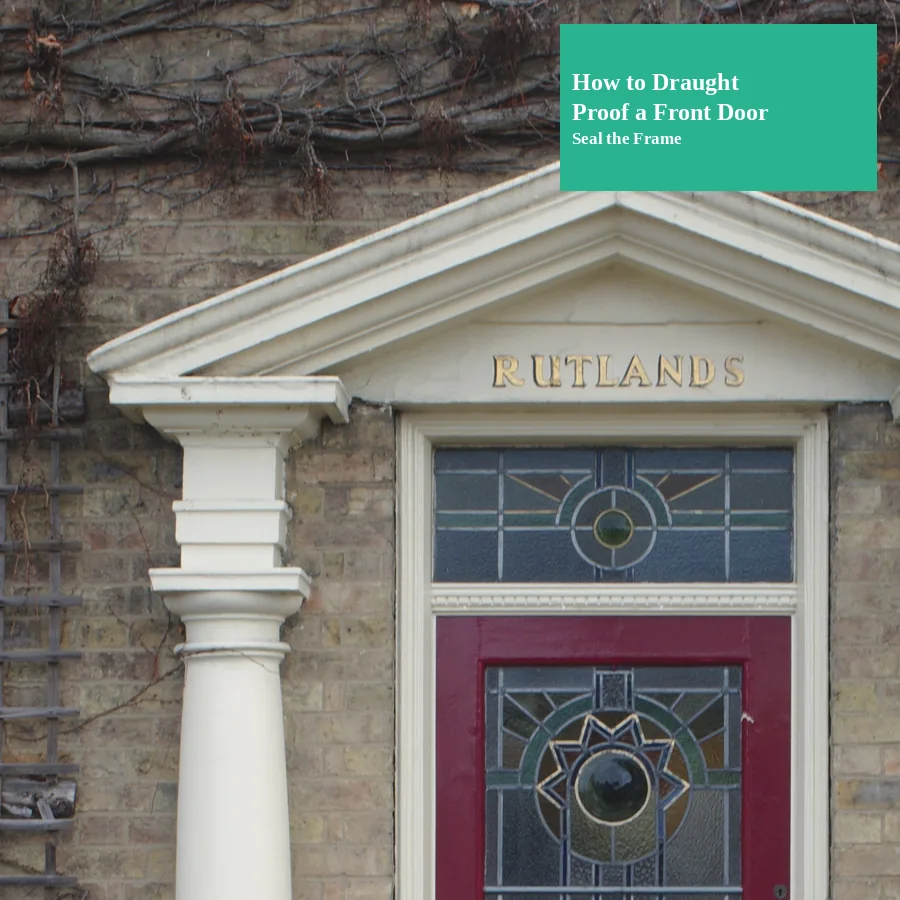
Frame seals are the second step in how to draught proof a front door. Self-adhesive foam strips are the cheapest choice, at around £3 for a 5 m roll. They work well, but they squash flat within two or three years. Rubber or EPDM strips cost more and last far longer.
Clean the frame rebate with a damp cloth and let it dry. Press the strip into the rebate, not onto the face of the frame. Fit a short test piece first, then check that the door still closes and locks.
Brush pile strips suit doors that have warped a little. They fill an uneven gap better than flat foam. A strip that is too thick stops the door closing, so match it to your gap.
- The gap range printed on the pack.
- The door material, timber or uPVC.
- Which way the door opens.
- How much clearance the floor allows.
Fix the Letterbox and Keyhole
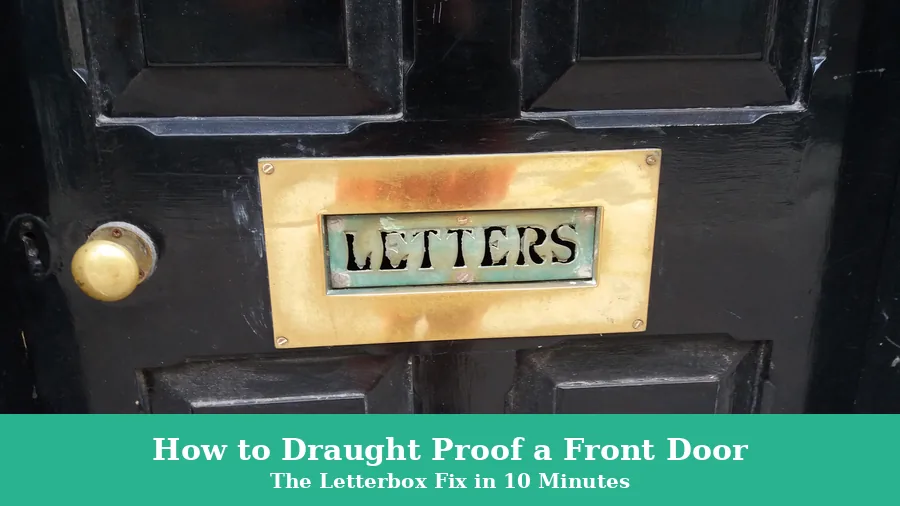
A letterbox flap is a hinged plate held shut by gravity. After a few winters the hinge stiffens and the brush behind it flattens. Cold air then blows straight through a slot the size of an envelope.
The kit is a frame with stiff bristles that mounts inside the door. It costs around £8 to £12 at most DIY shops. Measure the letterbox first, since one size does not fit all.
A keyhole cover is the smallest fix of all. An internal escutcheon with a sprung cover costs about £4. It snaps shut when you pull the key out. Check it suits your lock before you buy, above all on modern multi point locks.
When the Door Has Dropped, Fix the Hinges First
No seal can fill a wedge shaped gap from a sagging door. If the gap is wide at the top, the door has dropped. Tighten the hinge screws before you buy any seals.
Swap short screws for 65 mm screws that bite into the frame behind. If the screw holes have crumbled, drill them out and glue in wooden dowels. Let the glue dry, then refit the screws in the same place. Our guide to fixing a squeaky door covers hinge care in more detail.
Lift the door off its hinges if the sag is bad. Check the door sits square in the frame before you seal it. A square door seals well with far less material.
What It Costs, and What You Save
A full job costs roughly £35 to £50 in parts. That covers the brush strip, frame seals, letterbox brush and keyhole cover. The Energy Saving Trust puts whole home savings at around £55 a year in Great Britain.
A professional job for windows and doors costs around £250 for a whole house. Our guide to saving money on home renovations shows how small jobs like this add up. The hallway should feel warmer the same evening.
| Fix | Rough cost | Time to fit |
|---|---|---|
| Brush strip | £8 to £20 | 20 to 30 minutes |
| Frame seals | £3 to £18 | 30 to 45 minutes |
| Letterbox brush kit | £8 to £12 | About 10 minutes |
| Keyhole cover | About £4 | About 5 minutes |
| Threshold seal | About £12 | 10 to 15 minutes |
Mistakes That Waste Your Money
Most failed jobs come from skipping the checks, not from bad products. A strip that is too thick stops the door closing at all. Cheap foam squashes flat within weeks and stops sealing.
Force is never the answer when a door sticks after fitting. Take the strip off and check the size again. A door that needs a shove to lock will wear the seal out fast.
- Buying seals before measuring the gaps.
- Using cheap foam tape on the frame.
- Fitting a brush strip so low that it drags.
- Skipping the letterbox, since the slot still leaks.
- Sealing over a dropped door instead of fixing the hinges.
Ventilation: What Never to Block
Draught proofing seals gaps, but it must never block planned airflow. Keep air bricks, boiler flues and trickle vents clear at all times. The Energy Saving Trust warns against blocking fixed ventilation for gas appliances. Its guide to how to draught proof a front door names the four areas to seal.
Leave the gap under internal doors alone too. That gap lets air move between rooms, which keeps the home healthy. Sealing a damp room can trap moisture and feed mould.
Homes without trickle vents may already be too airtight. When in doubt, ask a professional before you seal a whole home. Our home maintenance guide lists the seasonal checks worth doing each year.
Questions About Draught Proofing a Front Door
How much does it cost to draught proof a front door?
Most front doors cost £35 to £50 in parts for the full job. That covers a brush strip, frame seals, letterbox brush and keyhole cover. The work takes one morning with just a screwdriver and a drill. A professional job costs far more.
Can I draught proof a front door if I rent?
Yes, but ask your landlord or letting agent first, since drilling and screwing change the door. Self-adhesive strips and a fabric draught excluder need no screws and suit most rentals. Keep photos of each fix, and check the lock still works.
What is the best draught excluder for a front door?
A brush strip screwed to the bottom of the door works best for most homes. It seals well, lasts for years, and never gets kicked across the hall. A fabric tube helps in a pinch, but it falls over and leaves gaps.
Will draught proofing stop condensation on my front door?
It can help, since less cold air means a warmer door surface. But draught proofing alone will not fix damp or poor airflow in the hall. Keep trickle vents open, and dry laundry elsewhere when you can. If damp keeps coming back, look for the source first.
How do I know if my front door needs new seals?
Hold a candle near the frame on a still evening and watch the flame bend. Look for daylight around the edges, and feel for cold air at ankle height. If the letterbox flap hangs open or the brush strip looks flat, replace both. Check the seals each autumn.
A Warmer Hallway Starts With One Small Fix
Start with the candle test tonight, then buy the strips tomorrow. Fit the brush strip first, since it makes the biggest change. Add the frame seals and the letterbox brush next. You now know how to draught proof a front door, so pick a dry morning.
Check the seals each autumn, and replace them when they flatten. A door that seals well keeps the hall warm all winter. Our DIY home improvement guide has more weekend jobs like this one.
